Outpost Quickstart: Railway
Deploy Outpost to Railway with a one-click deployment. Railway provides a hosted cloud platform that automatically handles infrastructure provisioning and scaling.
Prerequisites
Setup
-
Deploy Outpost to Railway using the one-click deployment button:
-
Once the deployment is complete, configure your
TOPICSenvironment variable to the topics supported for destination subscriptions, publishing, and routing of events. For example: -
Note the generated
API_KEYenvironment variable value and the public Railway URL of your Outpost instance for authentication and API requests.
Verify Installation
You can use shell variables to store the tenant ID and API key for easier use in the following commands:
sh
-
Check that the services are running by replacing
$OUTPOST_URLwith your Railway public URL:shWait until you get an
OKresponse. -
Create a tenant with the following command, replacing
$TENANT_IDwith a unique identifier such as "your_org_name", and the$API_KEYwith the value from your Railway environment variables:sh -
Run a local server exposed via a localtunnel or use a hosted service such as the Hookdeck Console to capture webhook events.
-
Create a webhook destination where events will be delivered to using the following command. Again, replace
$TENANT_IDand$API_KEY. Also, replace$URLwith the webhook destination's URL:sh -
Publish an event, remembering to replace
$API_KEYand$TENANT_ID:sh -
Check the logs on your server or your webhook capture tool for the delivered event.
-
Get an Outpost portal link for the tenant:
shThe response will look something like the following:
jsonThe
tokenvalue is an API-generated JWT.Open the
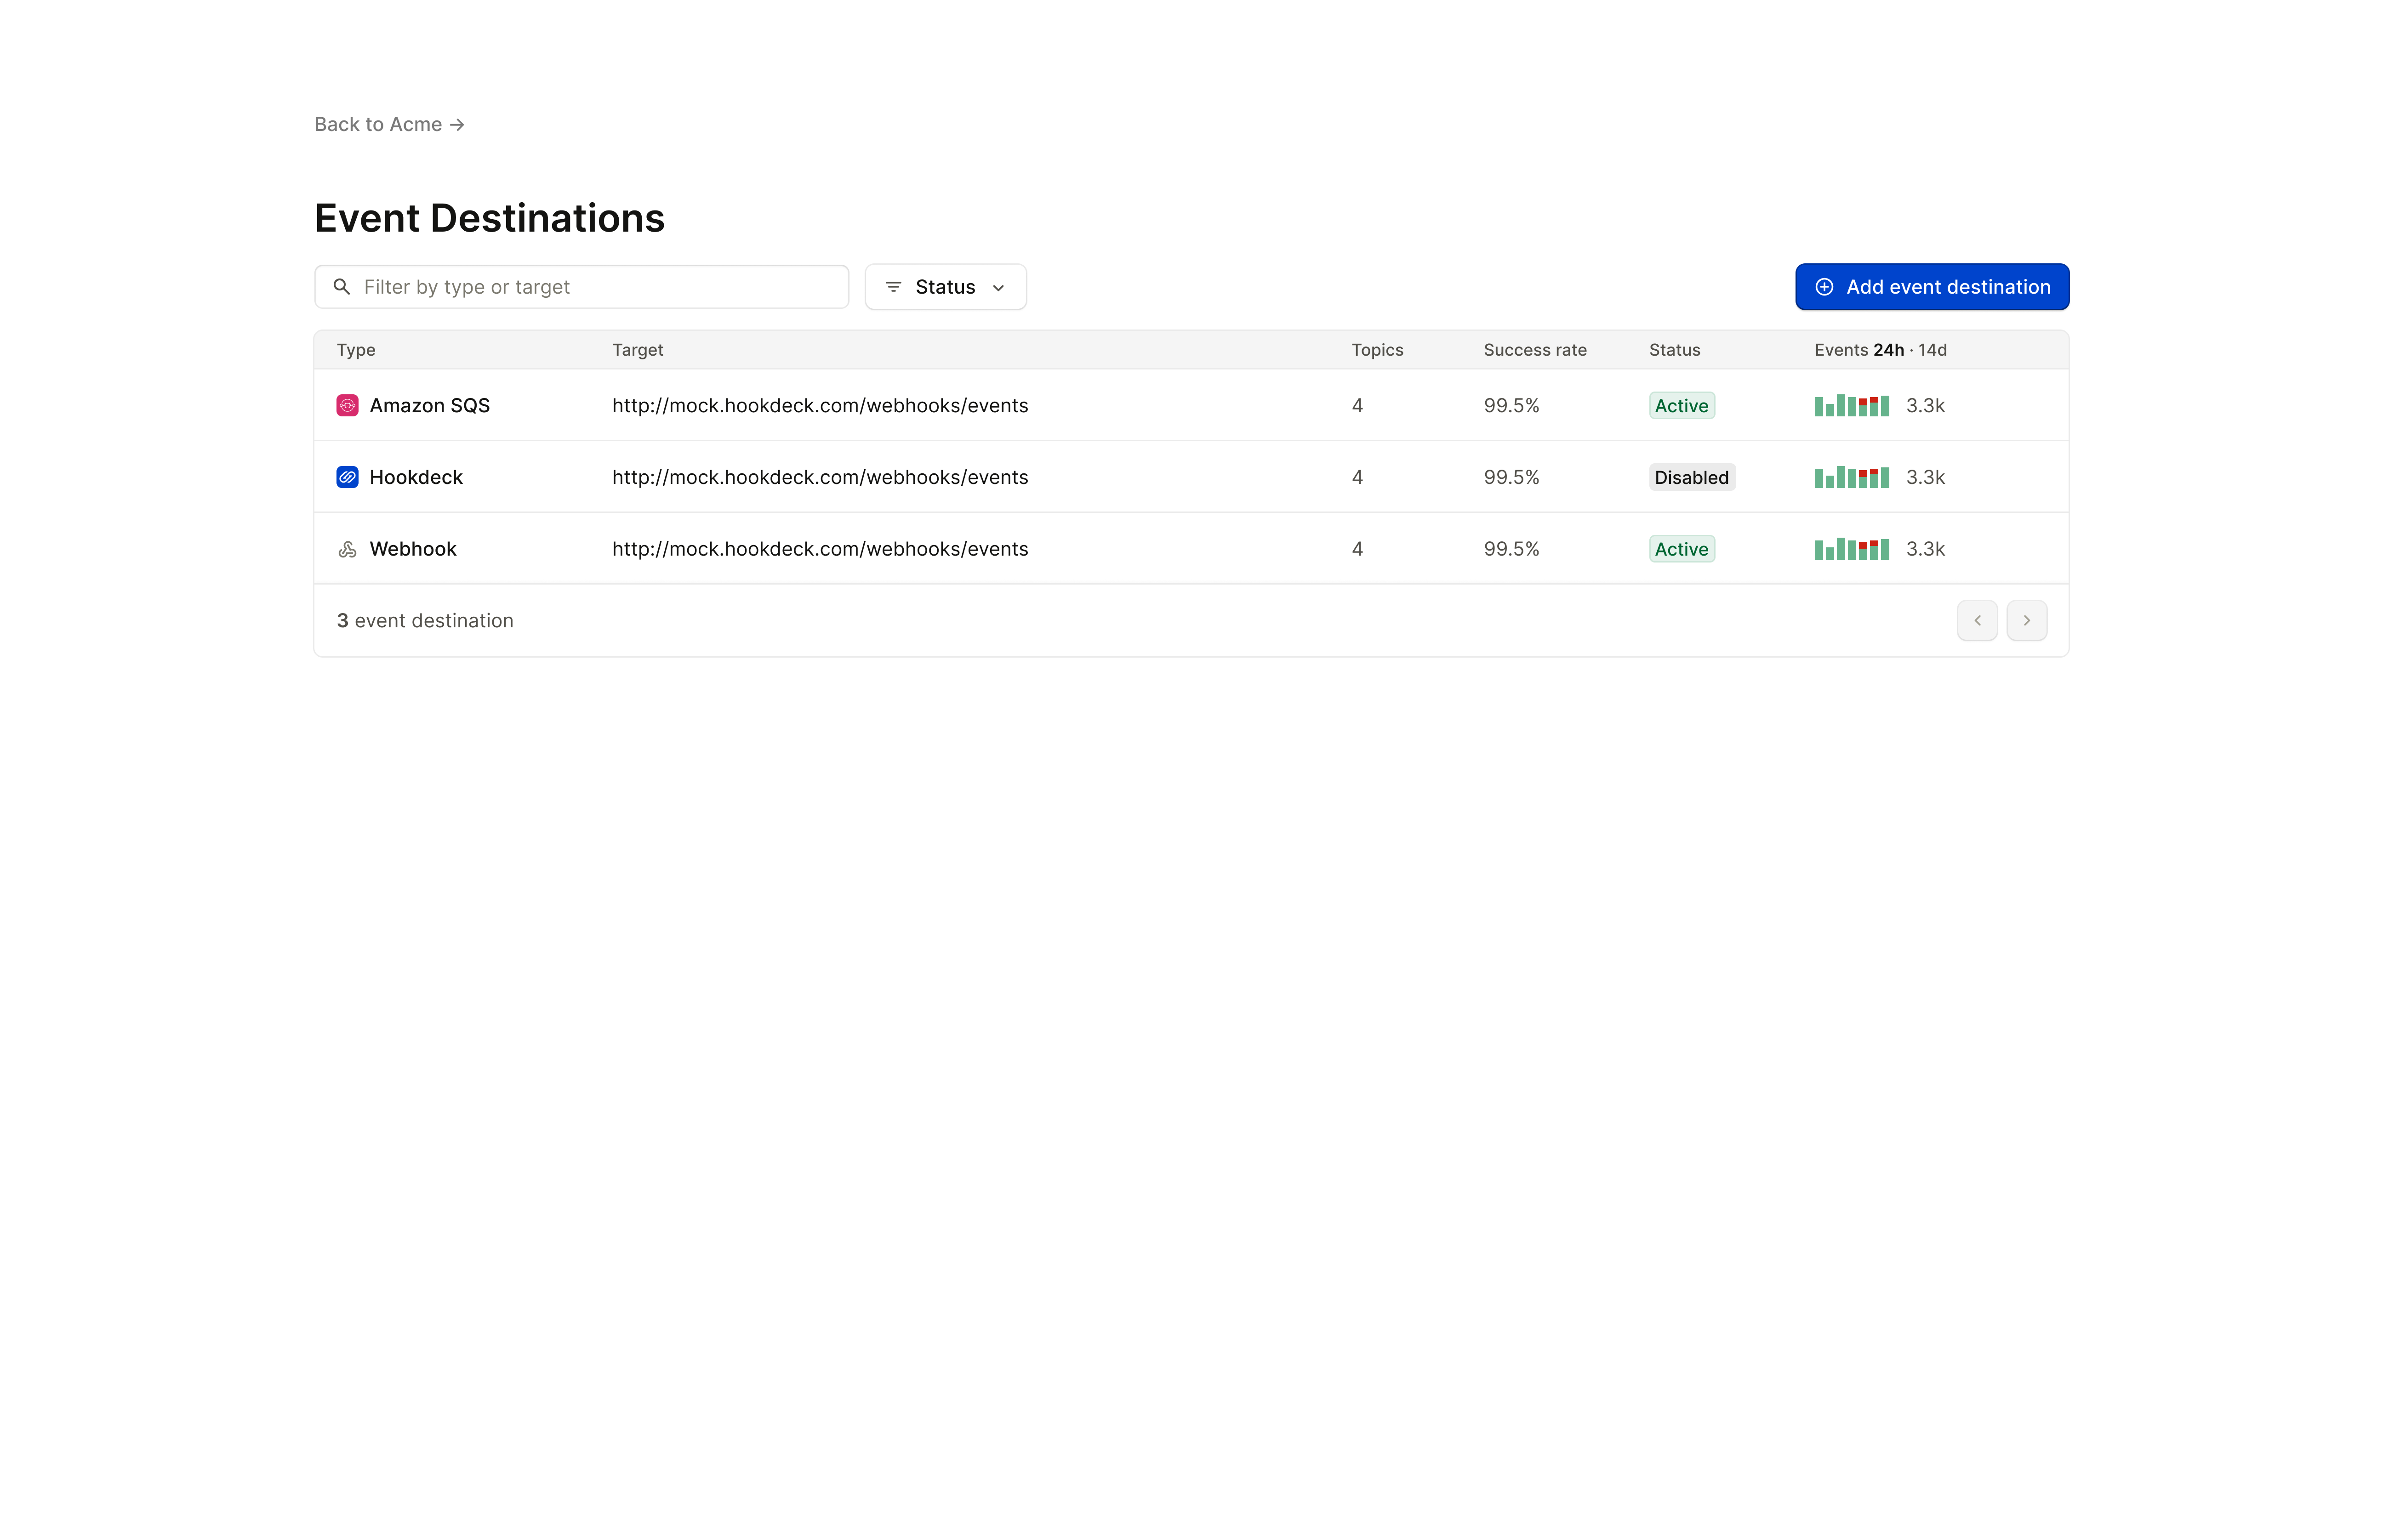
redirect_urllink to view the Outpost portal.
Continue to use the Outpost API or the Outpost portal to add and test more destinations.